Makin' my own PCBs
Get back to the self made overview...

Such a great Software! I had some knoledge about such software, but alle the other packages have been too complicated and -anyhow- not ver user friendly. With Target i was able to make my first circuit diagram and the board within about one hour. Have i already said, that i did not know this great program before?
The first project to be realized was a reactive light for geocaching. It consists just in an LED, a micro controller, a resistor and a battery pack that will be soldered on the little planes shown as a rectangle on the diagram:

Next step was to get the PCB layout. No problem with target:

Now i had to find out the best way to exposure light onto the board material. Density
is the main topic. If the density on your print is not sufficient, all the following
steps will colapse.
So i was doing several prints on several media without even thinking of the boards so far. I tried with 55g paper and some special transparent spray, i used some transparent media for overhead projection and film specialy made for screen printing film production. Due to my job as presales consultant in the printing branch i have some experience with this subject. I tried it in combination with some printers, and among other things looked at the density, at the dots, dot gain, coalescence, sharpnes and - the most important thing - how the driver could be set up for my needs.
Anyhow, at the end i learned, that the good old EPSON Stylus Photo R285 is absolutely the best choice of my printers. I use it together with some inkjet film by Kaut-Bullinger To get the most suitable density, it is not always good to have the most black density. There is a phenomen called coalescence that can drive you nuts. If your printer supports changing the ink level, just give it a try. Maybe a lower ink level will bring you more density. The absolute insider tip is to use some yellow with the black ink. Most of the printer drivers won't support this, but if you have the possibility to print via a software rip or control the colour anyhow, use this way! You will be amazed, how much better the UV density will be. You won't see it with your eyes, but you will get much better results in the complete process chain. In my case it is not necessary. These are my driver settings in combination of the EPSON Stylus Photo R285 with KABUCO Inkjet Folie universal:

Please open the pics separately to get the best resolution to view them.


So i was doing several prints on several media without even thinking of the boards so far. I tried with 55g paper and some special transparent spray, i used some transparent media for overhead projection and film specialy made for screen printing film production. Due to my job as presales consultant in the printing branch i have some experience with this subject. I tried it in combination with some printers, and among other things looked at the density, at the dots, dot gain, coalescence, sharpnes and - the most important thing - how the driver could be set up for my needs.
Anyhow, at the end i learned, that the good old EPSON Stylus Photo R285 is absolutely the best choice of my printers. I use it together with some inkjet film by Kaut-Bullinger To get the most suitable density, it is not always good to have the most black density. There is a phenomen called coalescence that can drive you nuts. If your printer supports changing the ink level, just give it a try. Maybe a lower ink level will bring you more density. The absolute insider tip is to use some yellow with the black ink. Most of the printer drivers won't support this, but if you have the possibility to print via a software rip or control the colour anyhow, use this way! You will be amazed, how much better the UV density will be. You won't see it with your eyes, but you will get much better results in the complete process chain. In my case it is not necessary. These are my driver settings in combination of the EPSON Stylus Photo R285 with KABUCO Inkjet Folie universal:
Please open the pics separately to get the best resolution to view them.
So now we have the film for the next step. Before we begin working with the board material we have to
find out, how all the things work together. We have several things influencing our success:
EXPOSITION PROCESS:
- The density or opacity of our film
- The (UV-) transparency of our film
- The UV-transparency of the glass boards
- In this interrelation also the thickness of the glass
- The intensity of our UV light source
- The responding behavior of the board material's photo coating
- Duration of exposure
- How exact does the film lie against the media (board)?
- Do the glass panels bend too much?
- etc...
DEVELOPING PROCESS:
- The kind of the media's coating
- for sure: the media itself ;-);
i had my best results with BUNGARD boards
- The temperature of the developing fluid
- The kind of developer (i use sodium hydroxide)
- The time of developing
- etc...
ETCHING PROCESS:
- The kind of media's coating
- for sure: the media itself ;-);
i had my best results with BUNGARD boards
- The temperature of the etching fluid
- Your patience ;-)
- means the time of etching
- Your reliance to the etching process
- The chemicals you're working with
!Do not use iron (III) chloride - it works too
fast and will quite sure underetch your coating!
- etc...
Now let's come to the first trials: Like a child on christmas eve i was not patient at all. So i tried
to make the first board without having any ideas. Please see my first results with some comments on it:

From left to right: My first attempt was just for the birds ;-) . I had no idea how long i had to expose
and so the first test was a good exaple in "how to make everything wrong". The most funny thing was, that
the etching fluid, that normally is from clear to a little bit blueish, turned into brown colour. The
reason was, that the photo coating was not exposed and / or developed with the right time. I read the
instructions of the board's manufacturer and found out, that the developing process must generate shiny
copper surfaces within a maximum of 4 minutes. Otherwise the UV exposure is not long enough.
Version two was not inverse and brought some better result. I did this very first tests with paper and some transparency spray. It works, but in my eyes just as some expedient. Anyhow - i did not follow this way any longer and am not able to say, how much better the results can be at all. I also used my EPSON WorkForce Pro printer for that attempt. This printer's ink does not generate the adequate density at all
Version three is made in combination with inkjet film and the EPSON R285. It delivers enough density, but i used the wrong holders. My combination of a foam board and a 2mm thin glass panel was to stable enough, so the film was not really lying against the board. It's best to see on the small reference lines on the edge.
The fourth example on the bigger board shows my last try. It's working pretty fine in comparision with the first try. The only problem i still had, was that i always got those problems in solving the copper at the edges of the board. It has nothing to do with the clamps i use for holding it in the etching fluid. If it was so, i wouldn`t have those ugly stripes an all four sides. I guess, that this has to do with the board material. So this was the reason, why i changed to BUNGARD boards - what should i say: That boards work!
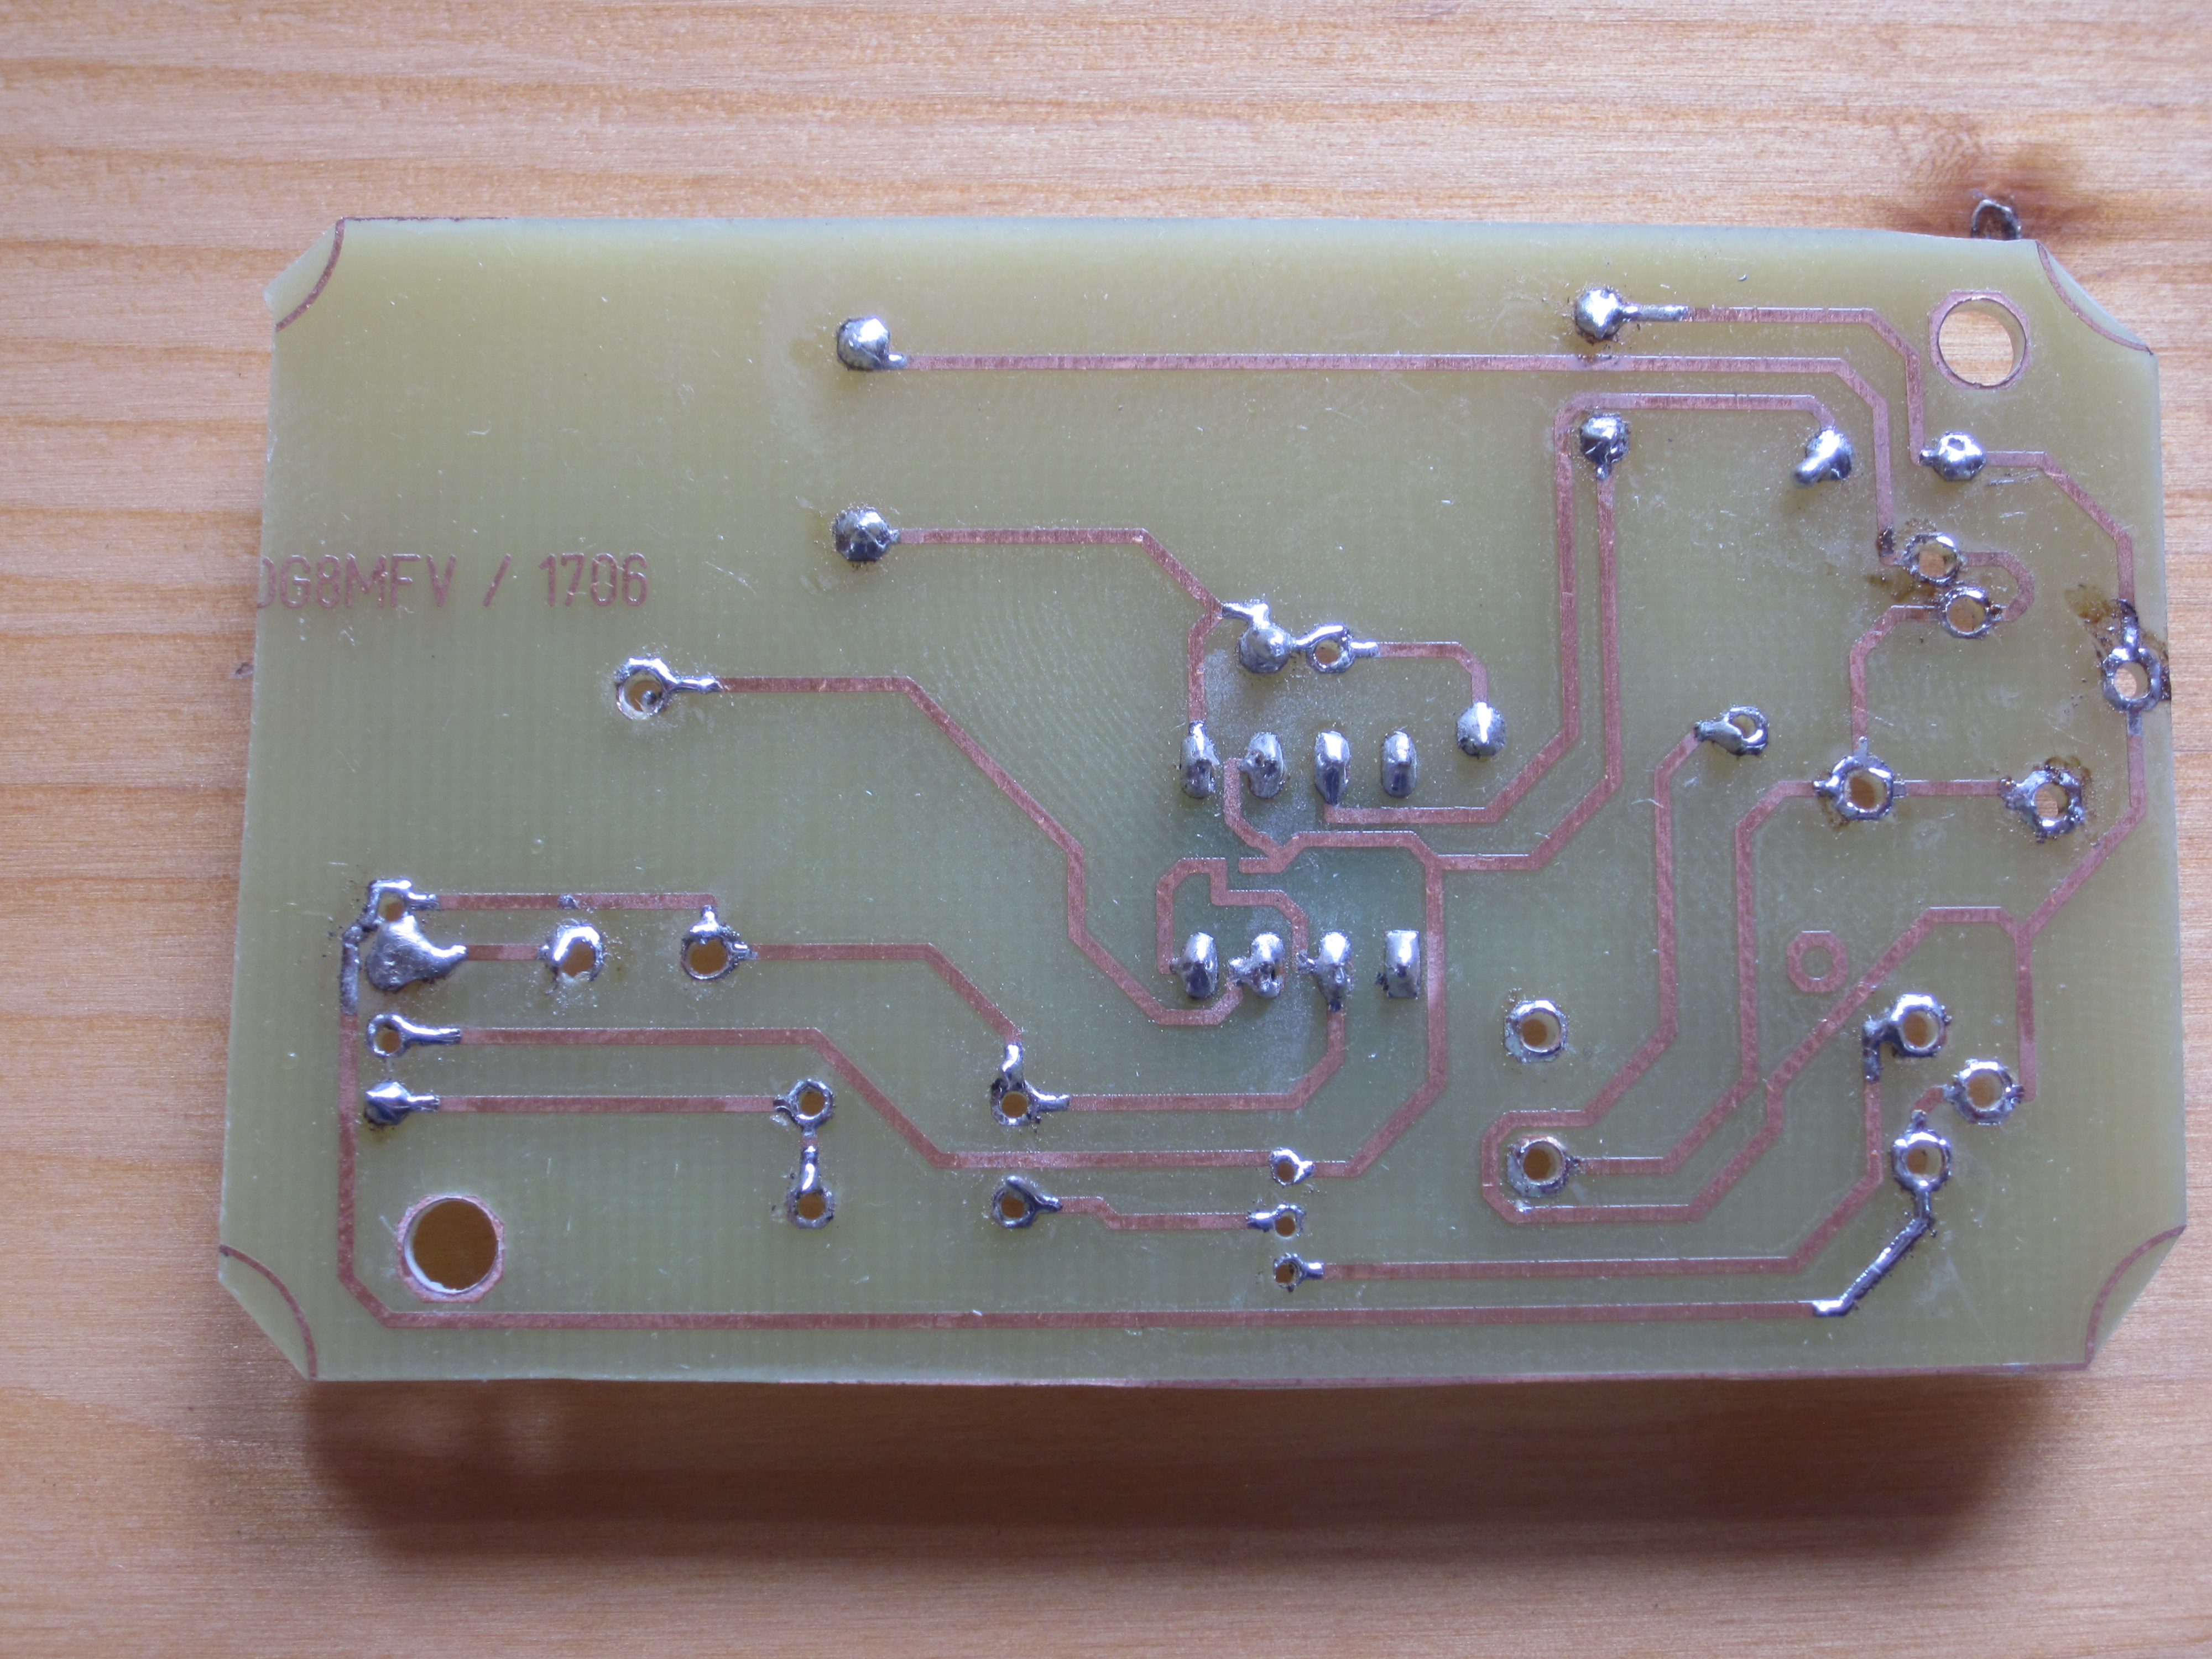
This is my first result with BUNGARD - it's an already used board, but it shows how good that process works
now with my equipment. The parameters of the process are now: Exposure 80 seconds; Developing bath about
1-2 minutes - just watch until the copper on the exposed area is shiny and no further coating is being solved;
Etching about 10 minutes with about 40-45°C (the first copper solves in 6 to 7 minutes, then it goes on fast)